
To read about various aspects of Framsticks visualization, see the "visualization.pdf" in presentations.
If you want to render photo-realistic videos, you can use Framsticks CLI or GUI to export simulation frames in POV-Ray *.pov file format. Two examples for CLI:
- For linux and foraminifera experiment defintion:
./frams.linux "expdef foraminifera" "Simulator.init();" "ExpProperties.visualize=1;" "POVExport.povex_enable();" "for (var i=0; i<20; i++) Simulator.step();" -q - For Windows and standard experiment defintion:
frams "expdef standard" "Simulator.init();" "im walking.gen" "ExpProperties.MaxCreated=8;" "POVExport.povex_enable();" "for (var i=0; i<20; i++) Simulator.step();" -q
Importing such animations into Blender can serve two purposes:
- Blender can be used to preview the POV-Ray animation before rendering it in POV-Ray. And not just preview! You can use Blender animation tools to make the camera precisely follow your intended path (matching imported Framsticks creatures) and then store Blender camera movement back into the original POV-Ray files, so POV-Ray renderings will follow Blender's camera movement!
- You might want to use Framsticks creatures as a part of some Blender animation project. This application is currently limited by the extremely basic look of the imported creatures, but you can always model the imported creature elements in Blender according to your needs, preserving the original animation that was based on Framsticks simulation.
This script is a rewrite and an extension of the earlier work by jm soler. The current version works in Blender 2.80 or later. The latest version known to work as of 2024 is Blender 4.0 (4.x).
Usage
- Download
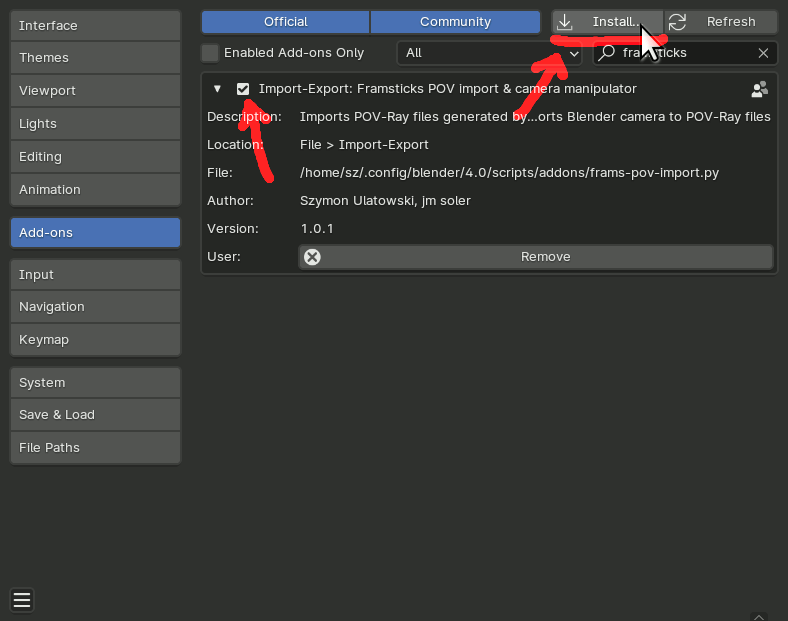
frams-pov-import.pyfrom our svn or trac. - Go to "User Preferences".
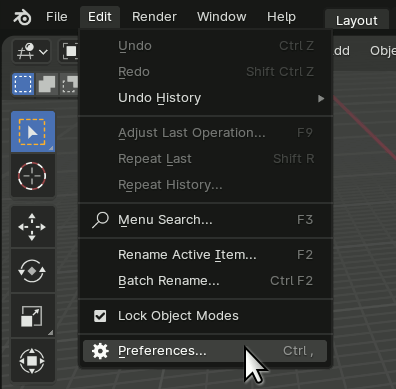
-
Click "Install..." and select the previously downloaded frams-pov-import.py, then click the checkbox to enable "Framsticks POV import & camera manipulator".
- The imported animation will start with the current frame, make sure the correct frame is selected in your timeline view.

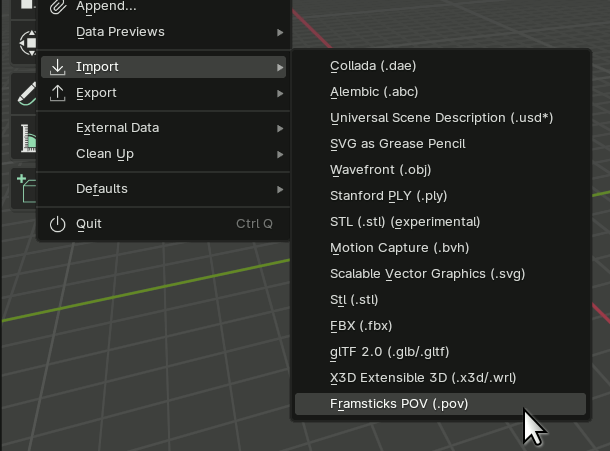
- Select File / Import / Framsticks POV.
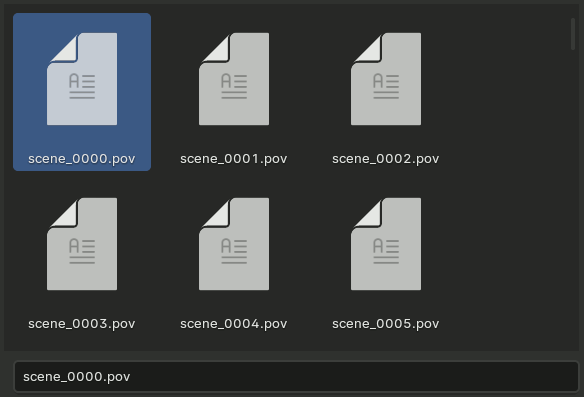
- Importing will load the entire sequence of POV files starting from the indicated file. In most cases you want to choose scene_0000.pov.
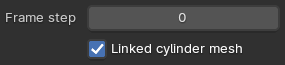
Selecting Frame step bigger than 1 will skip every n-th frame, which will save processing time and memory usage, but will result in a coarse animation. This is usually not acceptable if the animation is meant to be rendered by Blender. However, it may be useful if Blender is only used as a preview for POV-Ray rendering, especially when the scenes are very complex.
If you leave the "Linked cylinder mesh" option in its default enabled state, all stick objects will be linked to the same cylinder mesh instance. Besides the performance benefits, you may like it for the convenience of changing the appearance of all sticks by editing a single mesh.
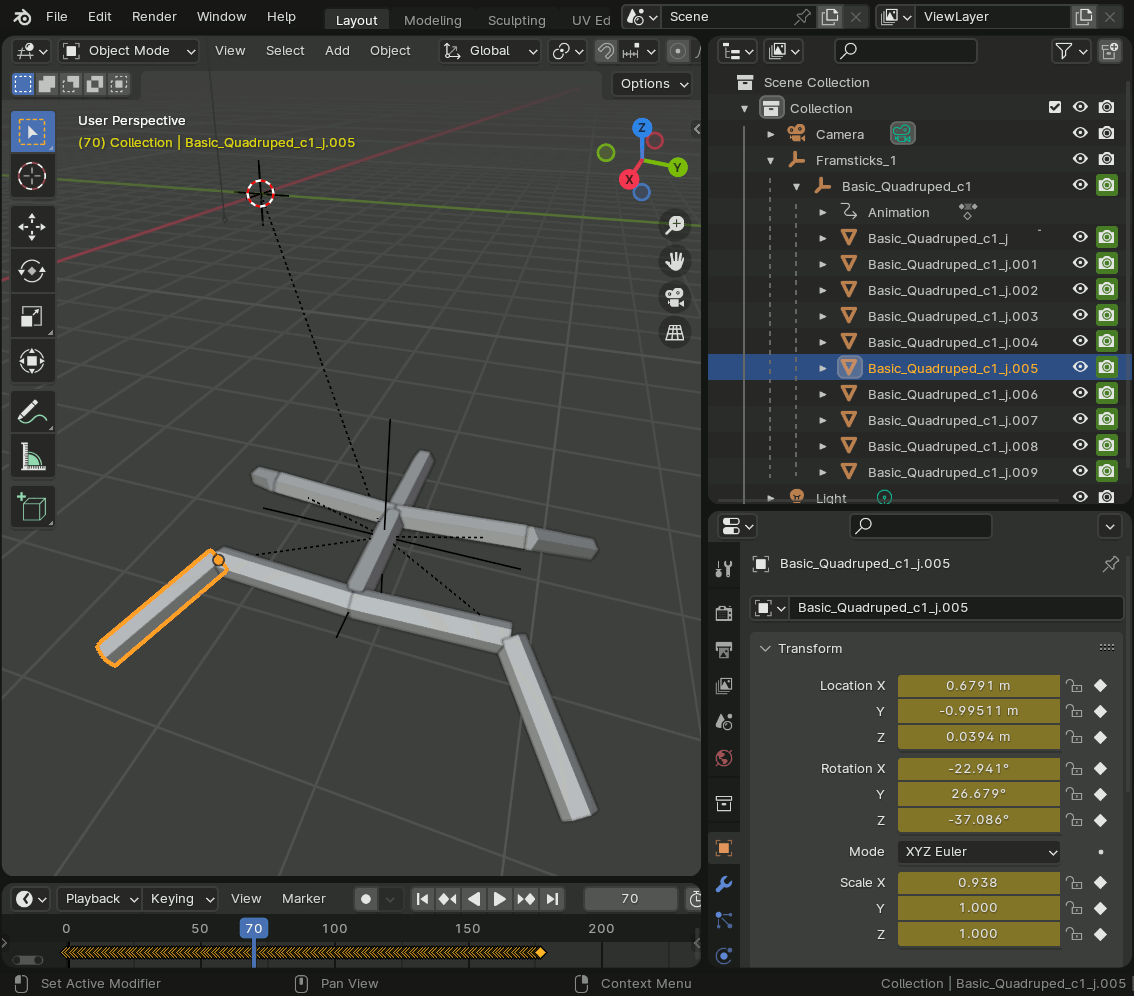
- Framsticks creatures are built from simple cylinders, ignoring all special properties, receptors and effectors. For convenience, creature elements are placed under the corresponding creature object in hierarchy, and all creature objects coming from the single import belong to the same Framsticks object.
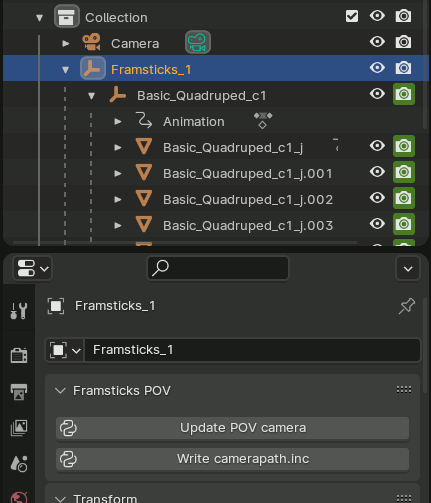
- Blender camera movement can be transferred to (stored into) POV-Ray *.pov files using the "Update POV camera" button in object properties of the Framsticks object. The second button achieves the same effect more efficiently by saving the complete camera movement to the "camerapath.inc" file, without the need of updating the large number of individual *.pov files.
- Importing Framsticks/POV-Ray camera from *.pov files back into Blender is not implemented. If you expect you will need the camera movement to be modified some time later, make sure to save the Blender *.blend file. This file will contain the animation and the link to the original *.pov files.